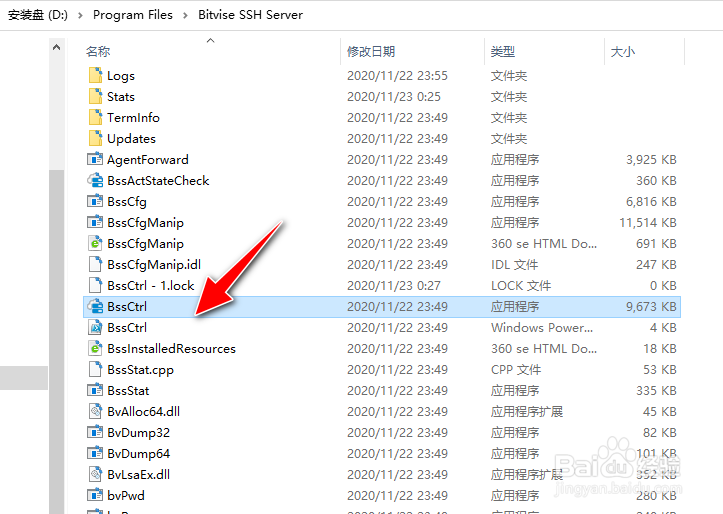
1、在本地电脑上安装"Bitvise SSH Server"工具软件,找到安装目录,运行"BssCtrl.exe"应用程序。
2、进入到软件操作的主界面,选择"Settings"->"Edit advanced settings"菜单。

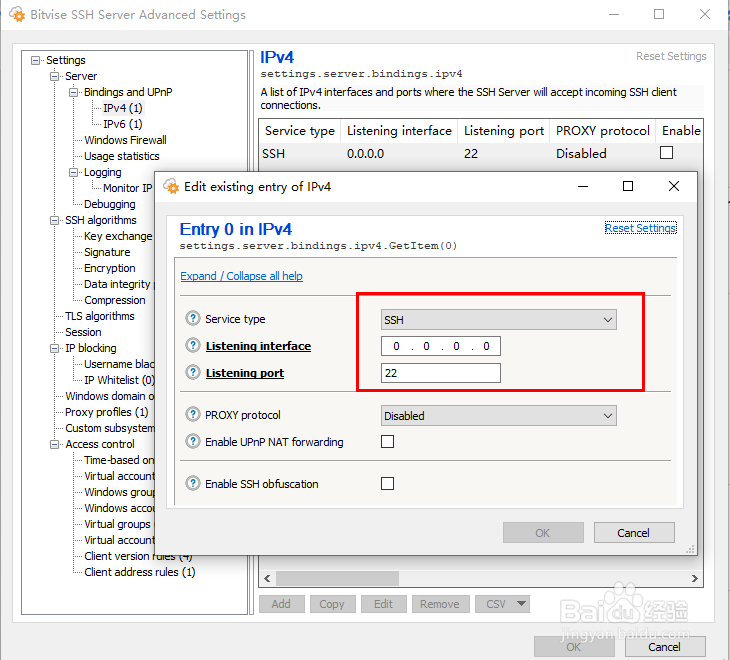
3、打开"Settings"->"Server"->"Bindings and UpnP"->"IPV4"菜单栏,自定义"Service type"为SSH方式,"Listening port"为默认的22端口。
4、选择"Windows account"菜单,点击"Add"按钮。

5、添加本地Windows用户名称,再将"Login allowed"设置为"yes",点击"OK"按钮。

6、完成操作后,再点击"Start server"按钮,应用生效。

7、之后,会弹出确认操作对话框,点击"Start Server"按钮。

8、完成操作后,界面会提示"Bitvise SSH Server service is running"消息对话框。

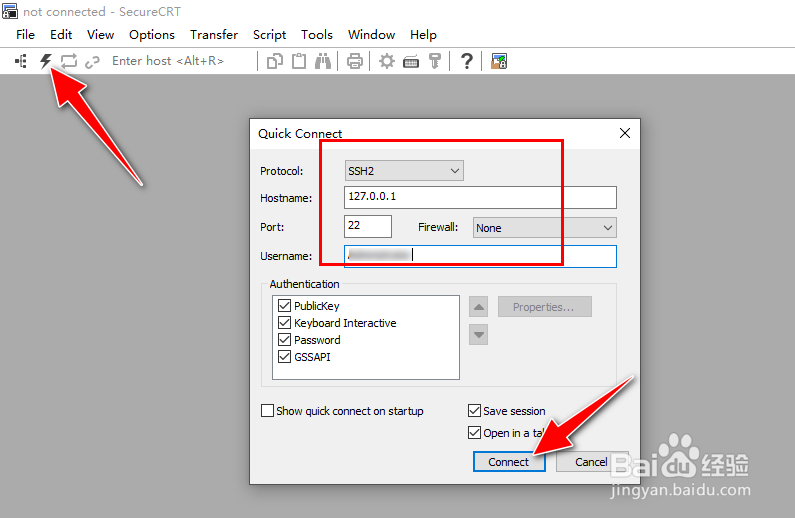
9、打开SecureCRT工具,点击工具栏的"connect"按钮,打开"quick connect"对话框,填写协议为"SSH2", 主机IP地址为"127.0.0.1",端口号为默认22,用户名为添加的Windows账户的用户名,再点击"connect"按钮。
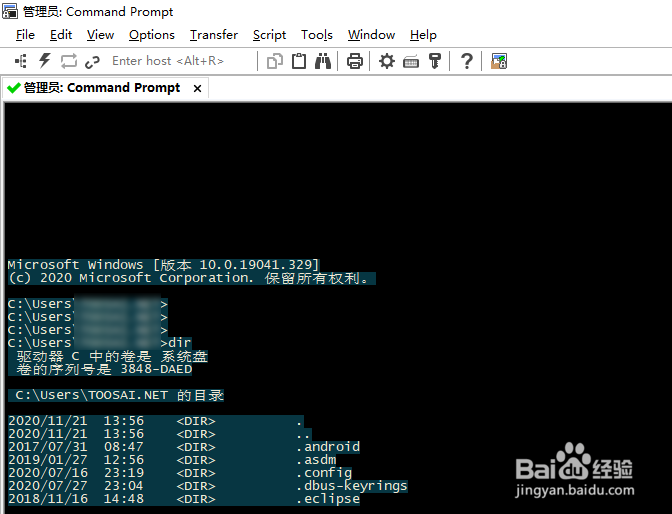
10、操作完成后,可成功通过SSH2方式登录到本地Windows系统。