1、 打开android开发平台

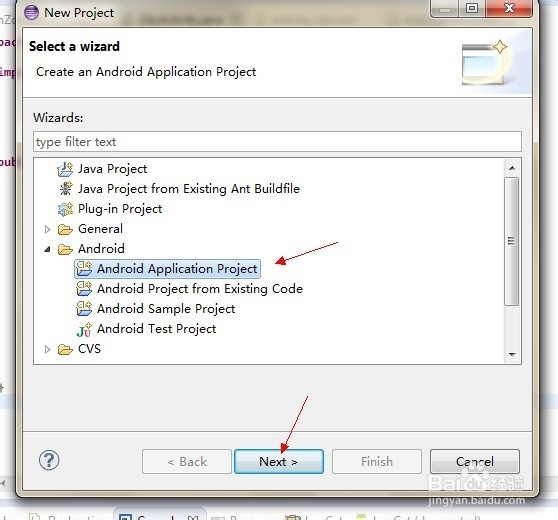
2、建立新的工程,点击file. ->new->project.选择Android Application Project,点击Next.
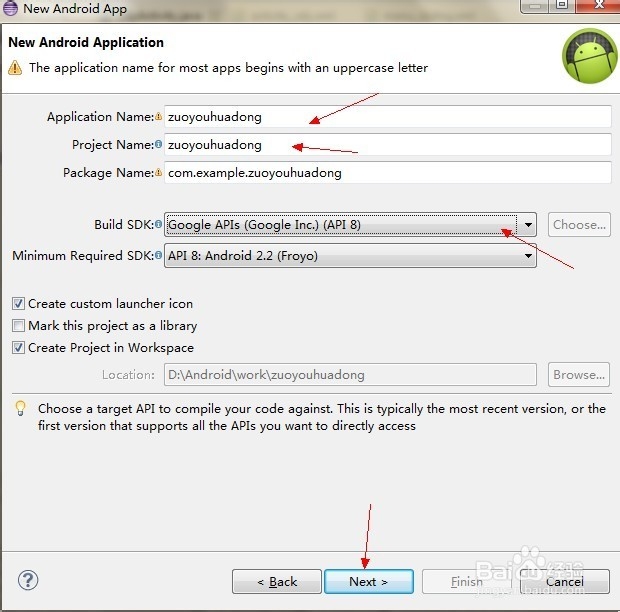
3、 填写工程名,选择创建的android版本。图例工程名为zuoyouhuadong 版本为android2.2.填好之后点击next
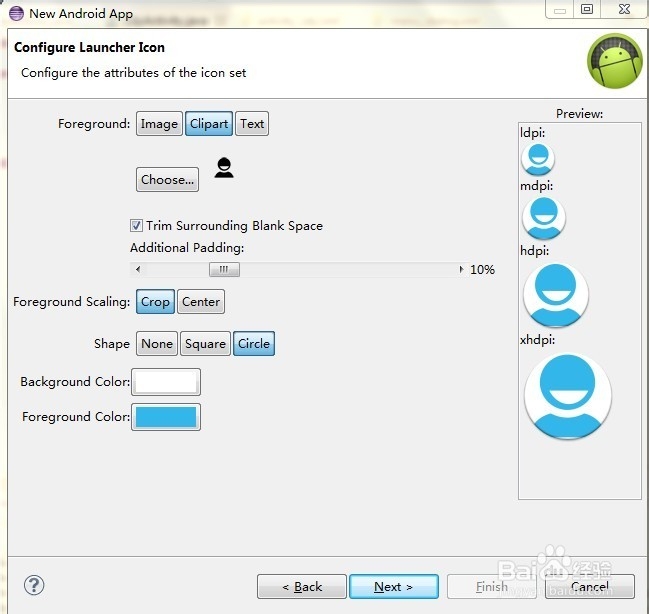
4、 下面进入前景色和背景色等的设置,若不属性可直接点击next
5、继续点击next
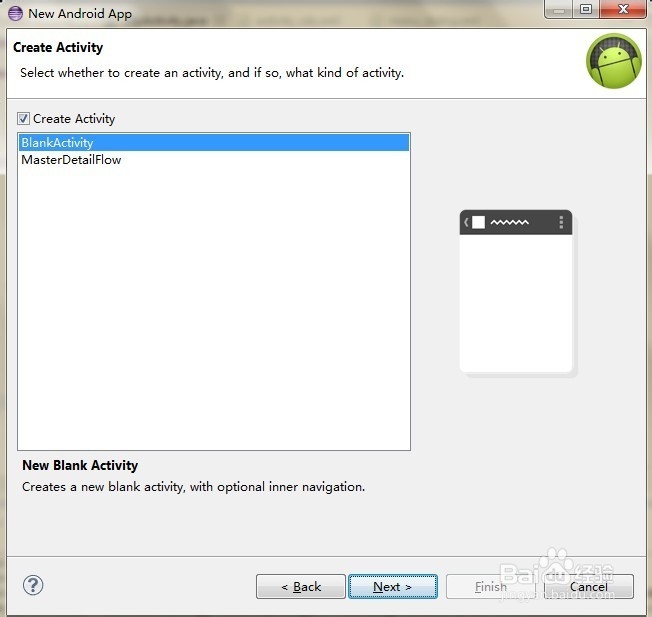
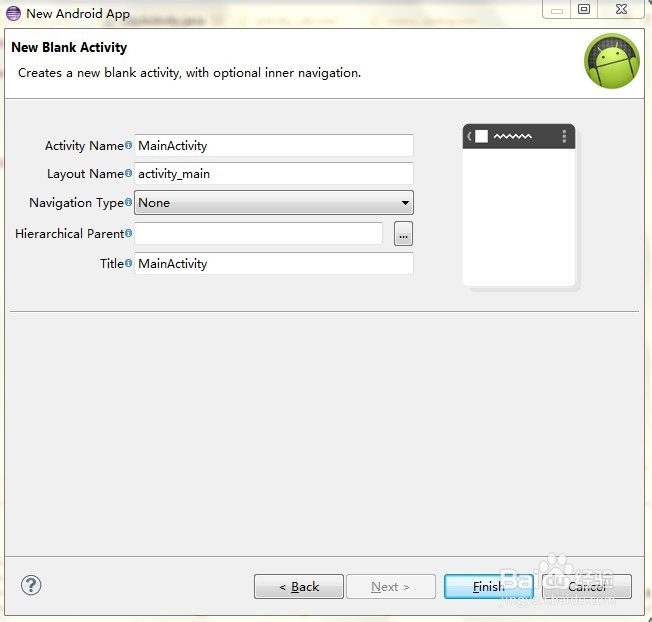
6、可以编辑Activity Name名字,避免所有的工程都一个名字,运行的时候不知道都是哪一个工程。点击finish.工程创建完毕。
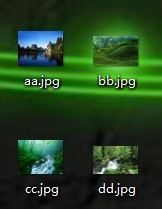
1、 网上下载或者本地选取图片四张。(图片名字最好改为英文)
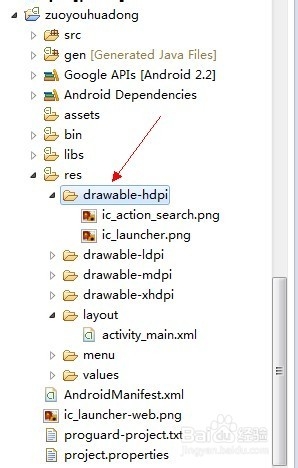
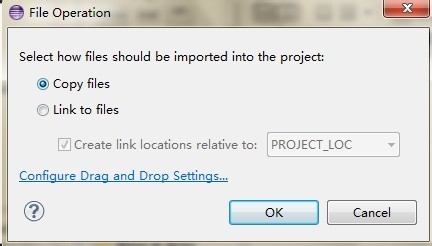
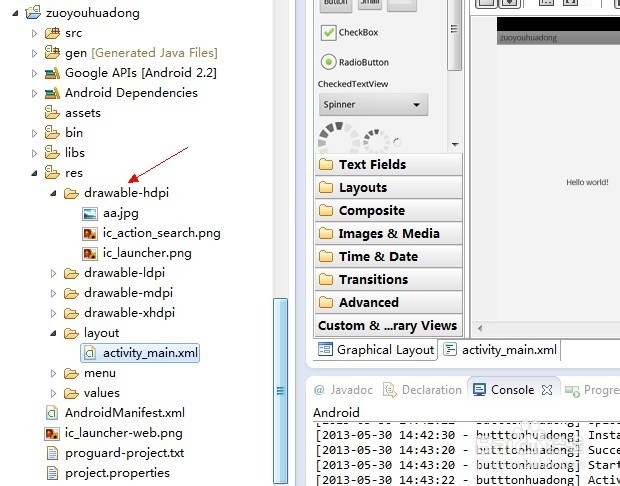
2、适当缩小 工程软件窗口,点击图片aa,拖放到zuoyouhuadong->res->drawable-hapi上,会提示你是否将图片复制进工程。
3、选择是OK
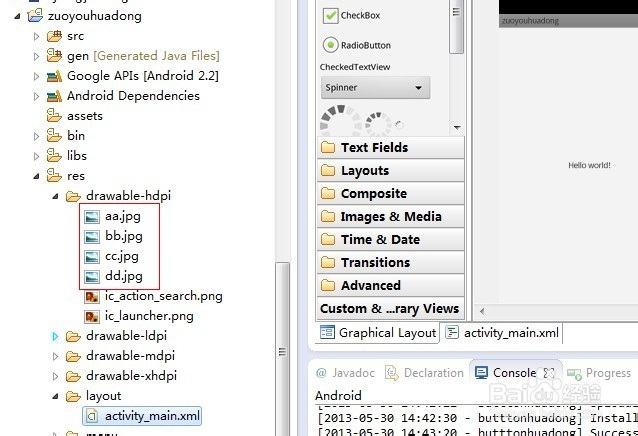
4、可以看到工程中已经有你的图片了。
5、按照本段2--4步骤把其他三张图片添加进工程。 添加图片的准备工作完毕。
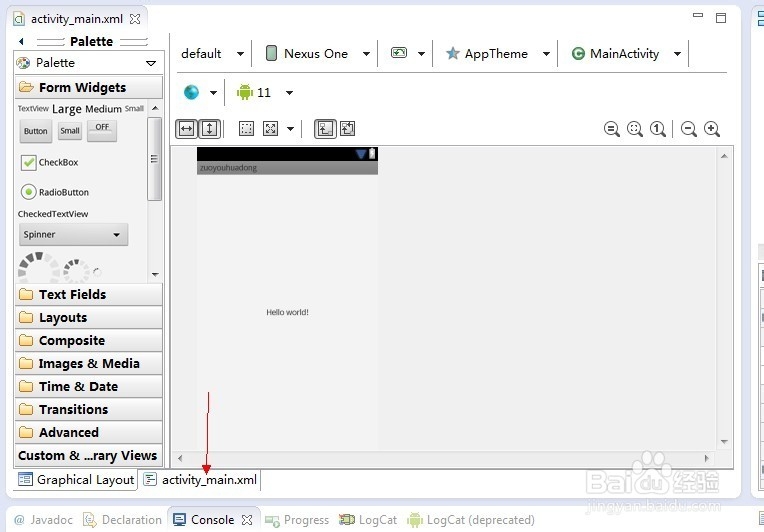
1、 目标转向主编辑框,视图界面转到代码界面。
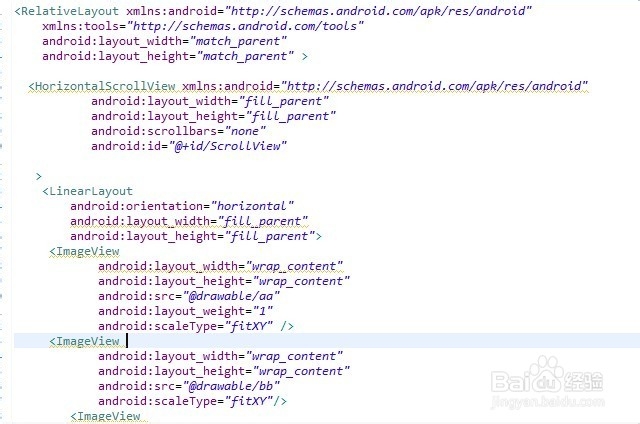
2、代码实现左右滑动功能。主要用HorizontalScrollView 。主要代码如下:<HorizontalScrollView xmlns:android="http://schemas.android.com/apk/res/android"
android:layout_width="fill_parent"
android:layout_height="fill_parent"
android:scrollbars="none"
android:id="@+id/ScrollView"
>
<LinearLayout
android:orientation="horizontal"
android:layout_width="fill_parent"
android:layout_height="fill_parent">
<ImageView
android:layout_width="wrap_content"
android:layout_height="wrap_content"
android:src="@drawable/aa"
android:layout_weight="1"
android:scaleType="fitXY" />
<ImageView
android:layout_width="wrap_content"
android:layout_height="wrap_content"
android:src="@drawable/bb"
android:scaleType="fitXY"/>
<ImageView
android:layout_width="wrap_content"
android:layout_height="wrap_content"
android:src="@drawable/cc"
android:scaleType="fitXY"/>
<ImageView
android:layout_width="wrap_content"
android:layout_height="wrap_content"
android:src="@drawable/dd"
android:scaleType="fitXY"/>
</LinearLayout>
</HorizontalScrollView>全
部代码截图如下。
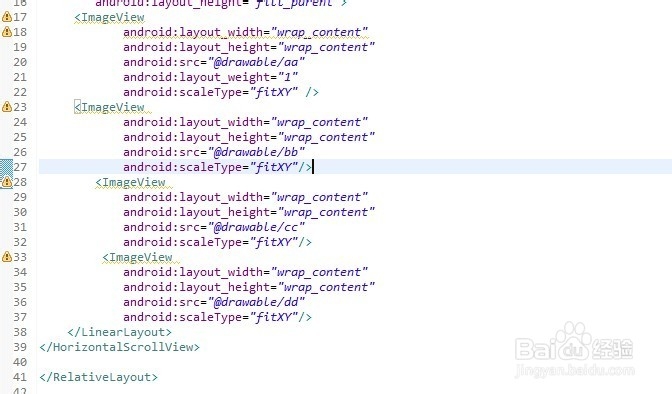
3、 部分主要代码解析:
android:scrollbars="none" 设置是否有滑动条;
android:scaleType="fitXY" 设置图片自适应;
android:src="@drawable/aa" 设置加载的图片;
android:layout_width="wrap_content"设置宽属性;
android:layout_height="wrap_content"设置长属性。
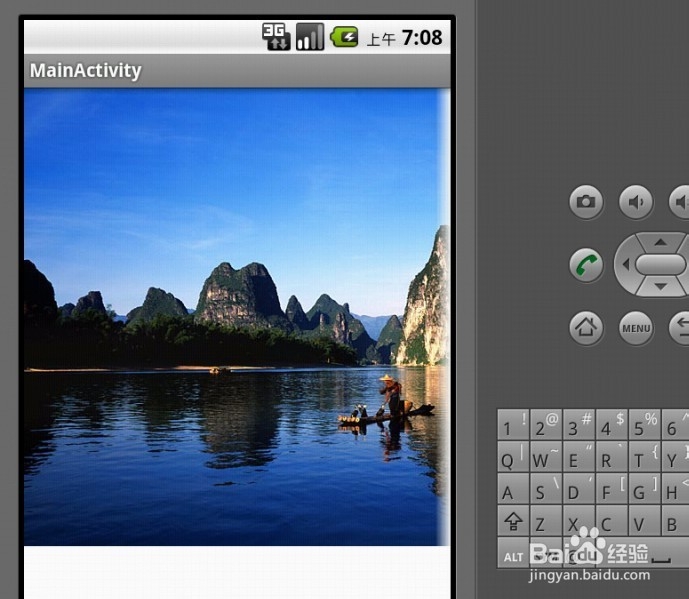
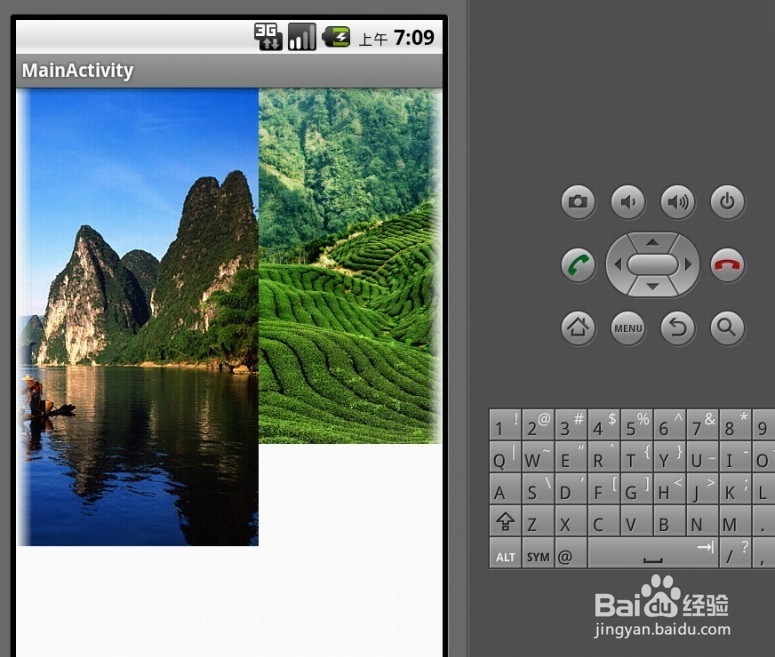
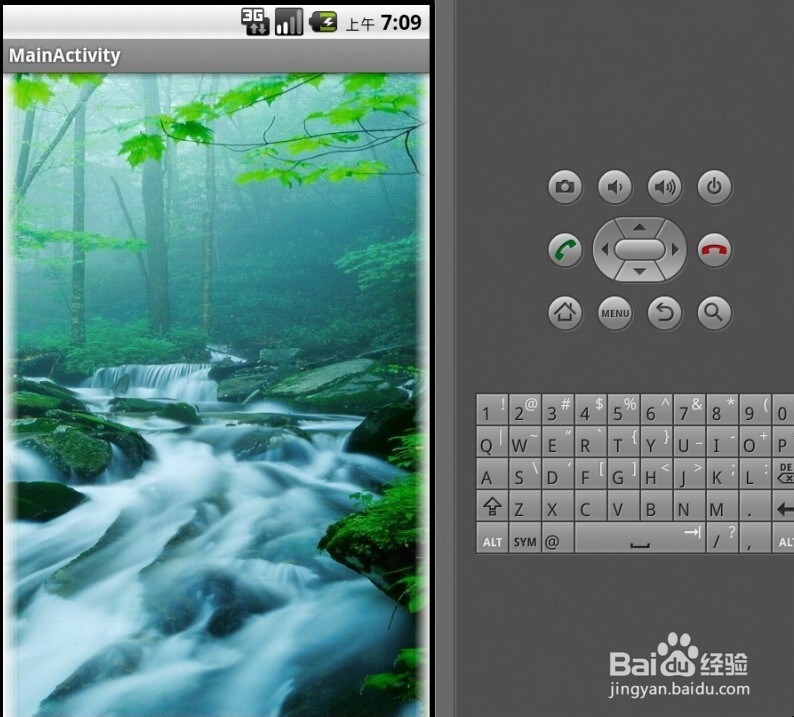
1、 右键工程,点击run,等待虚拟器启动运行程序
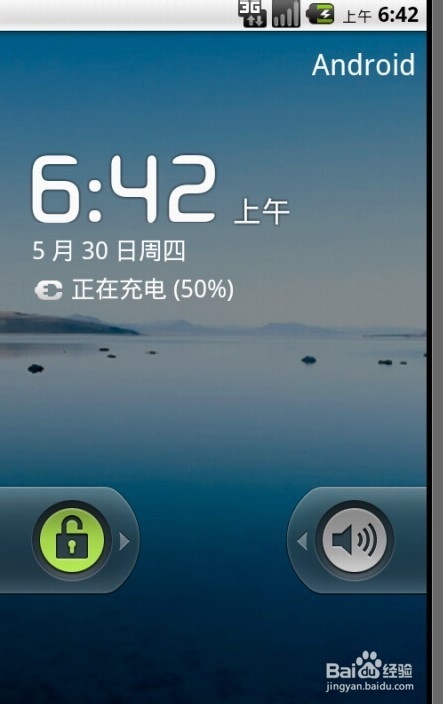
2、解锁,查看效果 。本例中图片大小未调整,稍微欠缺一点美观效果,请读者体谅。希望大家支持,并共同学习。