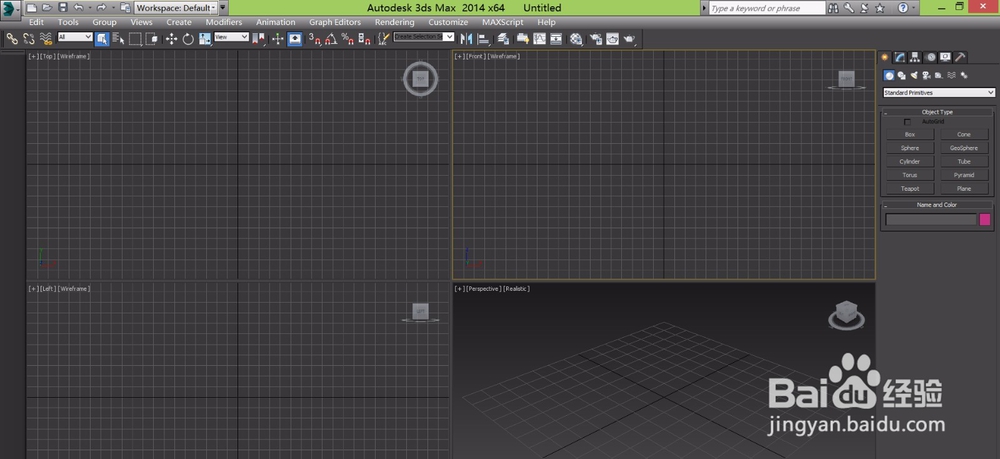
1、打开3ds max这款三维制作软件,进入3ds max的操作界面,如图所示:
2、在create选项下找到shape选项,在shape里找打line命令,如图所示:

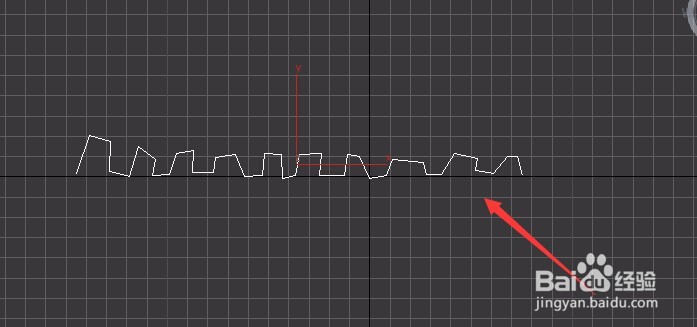
3、点击line命令,在顶视图绘制一条曲线,作为loft的截面,如图所示:
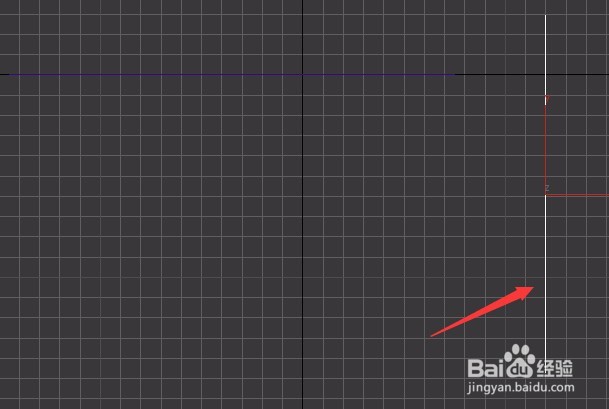
4、再次选择line命令,在前视图绘制一条直线,作为loft的路径,如图所示:
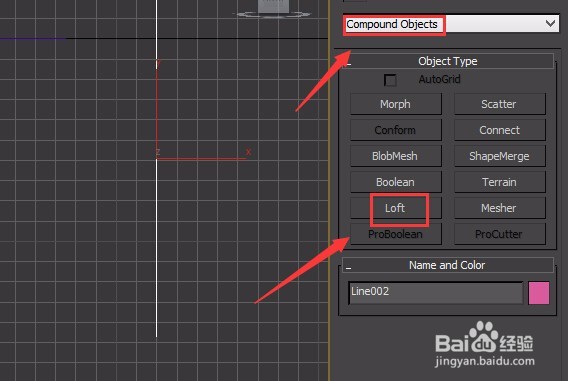
5、选择绘制的直线,在create选项下,找到其选择框,选择component object选项,如图所示:
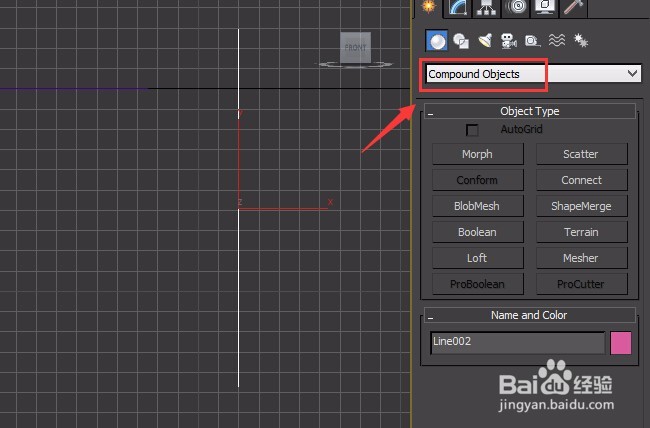
6、在component object选项里找到loft命令,如图所示:
7、点击loft命令,在loft的选择修改区域里找到get shape选项,如图所示:

8、点击get shape选项,在视图里拾取第一次绘制的曲线,可以看到我们的物体就生成了,如图所示:

9、在modify里修改shape steps为1,在找到下面的deformation选项,如图所示:
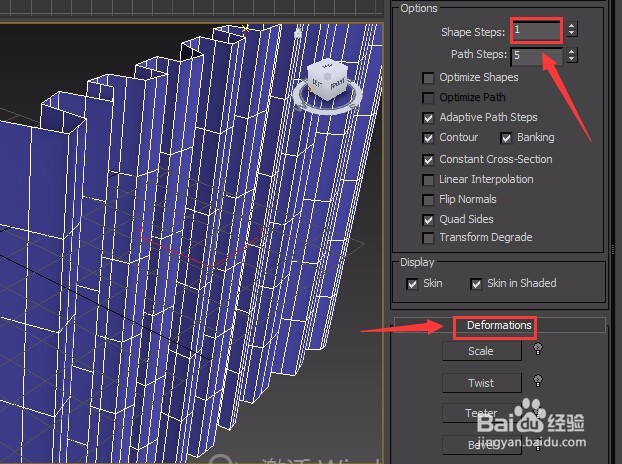
10、点击deformation下的scale选项,弹出scale deformation对话框,如图所示:
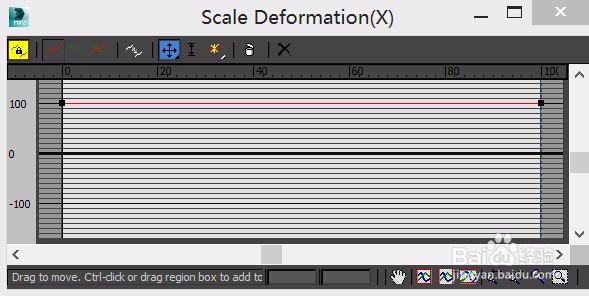
11、在scale deformation里给控制线添加一个点,然后调节控制线的形状,如图所示:
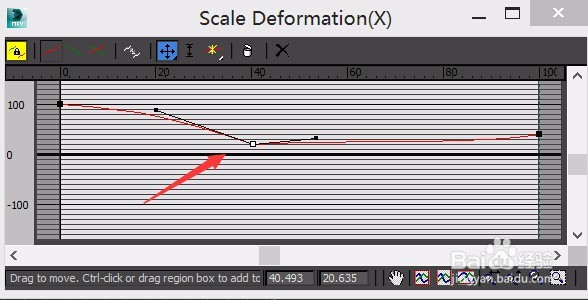
12、关闭scale deformation对话框,在modify里选择shape选项,在视图中选择曲线,然后找到align里的left选项,如图所示:

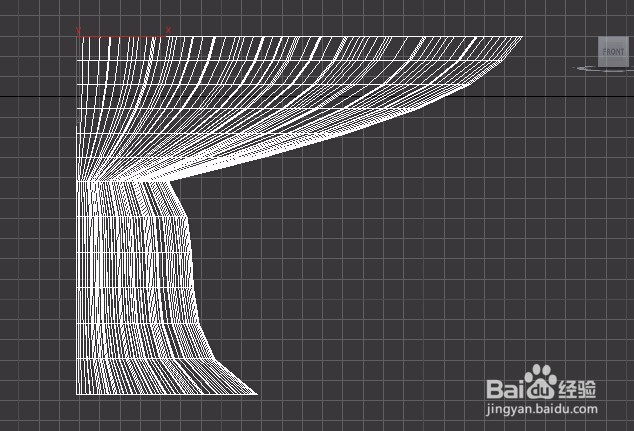
13、点击left选项后,可以看到我们的窗帘就生成了,如图所示:
14、取消shape的选择,在工具栏里单击mirror选项,在弹出的对话框里设置参数后,我们镜像复制出另个出来,最后的窗帘模型如图所示:
