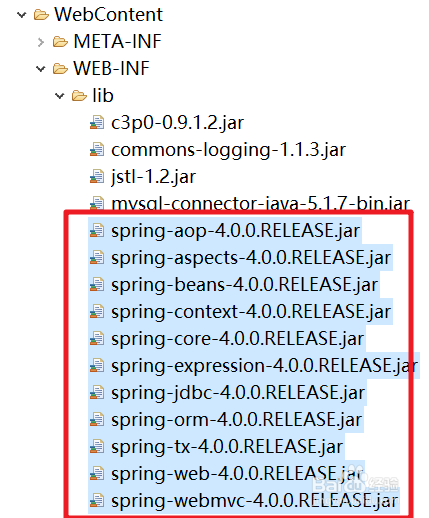
1、首先,自行下载Spring所需要的Jar包,将其导入到Web工程中【lib】文件夹中
PS:如果单纯使用JDBC,只需要spirng-jdbc和spring-tx即可
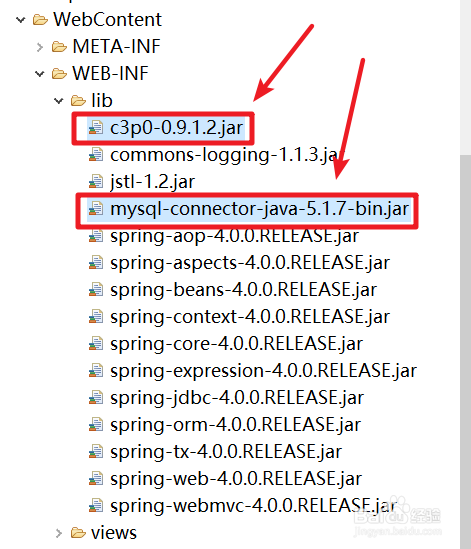
2、同时,我们导入和数据库相关的【c3p0】和mysql驱动的jar包
3、在src中添加【db.properties】的配置文件,分别配置了mysql的用户名、密码、驱动、连接的数据库信息

4、在src中添加【applicationContext.xml】的配置文件,在其中添加
<?xml version="1.0" encoding="UTF-8"?>
<beans xmlns="http://www.springframework.org/schema/beans"
xmlns:xsi="http://www.w3.org/2001/XMLSchema-instance"
xmlns:context="http://www.springframework.org/schema/context"
xsi:schemaLocation="http://www.springframework.org/schema/beans http://www.springframework.org/schema/beans/spring-beans.xsd
http://www.springframework.org/schema/context http://www.springframework.org/schema/context/spring-context-4.0.xsd">
<context:property-placeholder location="classpath:db.properties"/>
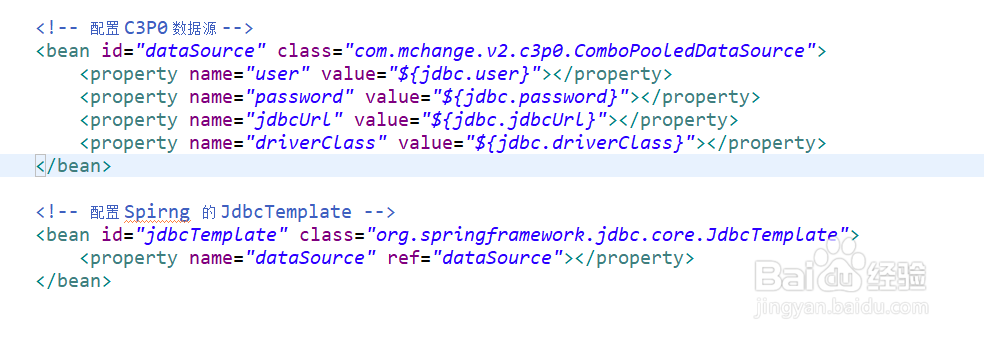
<!-- 配置 C3P0 数据源 -->
<bean id="dataSource" class="com.mchange.v2.c3p0.ComboPooledDataSource">
<property name="user" value="${jdbc.user}"></property>
<property name="password" value="${jdbc.password}"></property>
<property name="jdbcUrl" value="${jdbc.jdbcUrl}"></property>
<property name="driverClass" value="${jdbc.driverClass}"></property>
</bean>
<!-- 配置 Spirng 的 JdbcTemplate -->
<bean id="jdbcTemplate" class="org.springframework.jdbc.core.JdbcTemplate">
<property name="dataSource" ref="dataSource"></property>
</bean>
</beans>
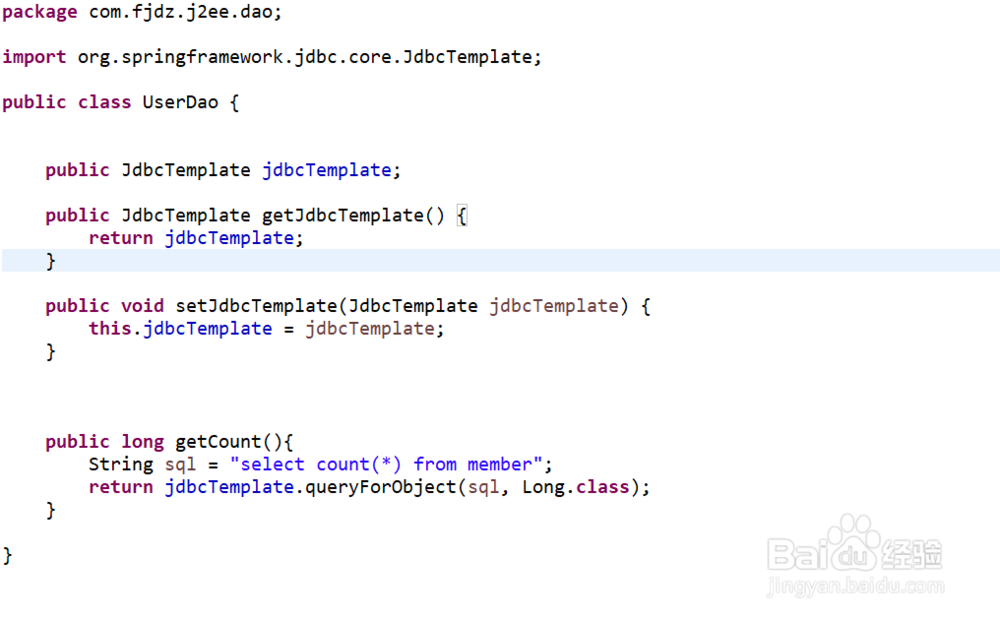
5、新建【uerDao】,在类中添加以下代码
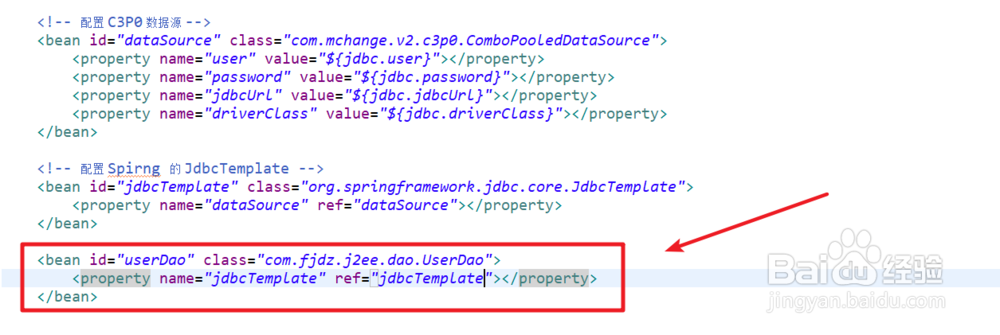
6、同时在,【applicationContext.xml】配置文件中添加
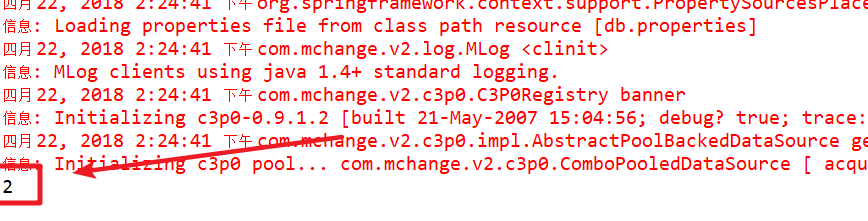
7、测试运行这个方法
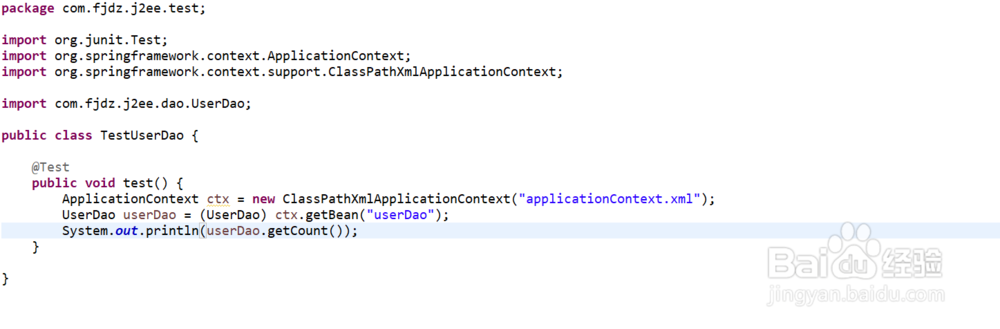
8、最终获得结果为【2】